


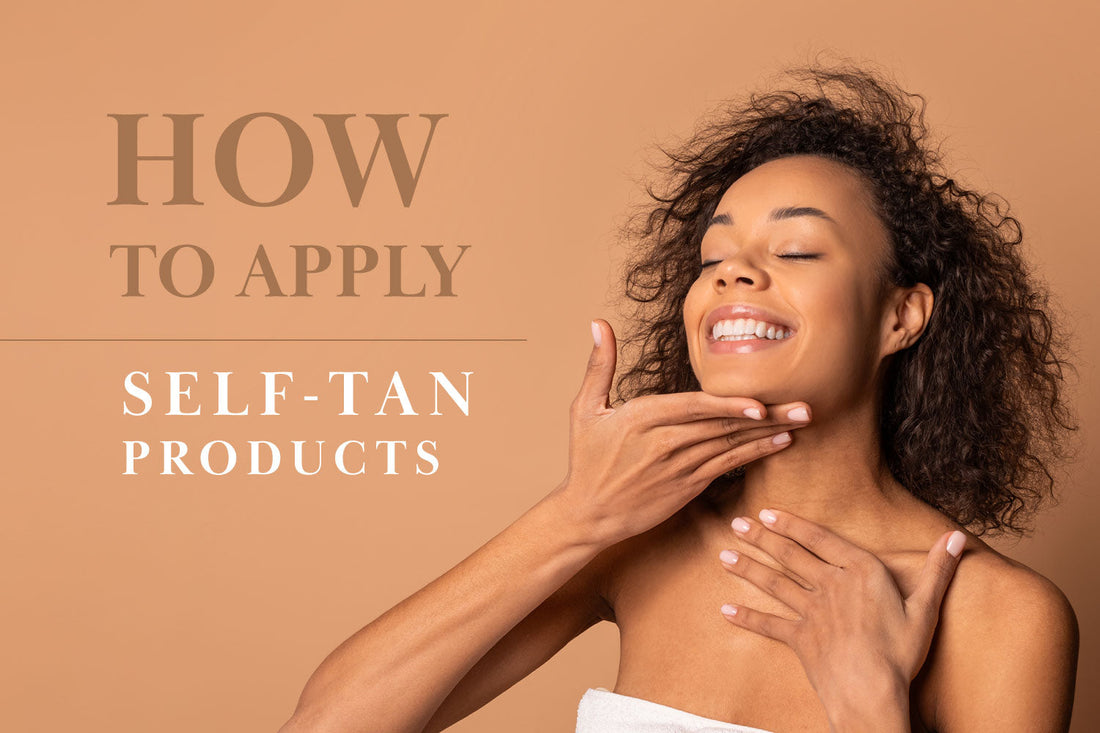
How to Apply Self-Tan: A Complete Guide to a Flawless Finish
Share
How to Apply Self-Tan: A Complete Guide to a Flawless Finish
Let’s be real, nothing ruins a good self-tan like streaks, patchiness, or orange hands. But the good news? With the right technique (and a little help from CHARLIE Code), getting a flawless, even glow is totally doable, even for beginners.
Whether you’re using foam, lotion, or mist, this step-by-step guide will walk you through how to apply self-tanner like a pro.
Step 1: Start with the Perfect Base
A flawless tan starts before you even open the bottle.
-
Exfoliate 24 hours before tanning to remove dead skin cells and create a smooth canvas. Use a gentle scrub or exfoliating mitt, paying close attention to dry areas like elbows, knees, and ankles.
-
Moisturise dry spots (not your whole body!) just before you tan. This stops those areas from soaking up too much colour.
-
Skin should be clean and dry with no oils, perfumes, or deodorants.
Prep tip: Use CHARLIE Code’s Pre-Baked to hydrate and smooth the skin before applying self-tan. It’s your glow’s best friend.
Step 2: Use the Right Tools
Skip using your hands, trust us.
-
Tanning mitt: For streak-free, even application.
-
Blending brush or mini mitt: For your hands, feet, ankles, elbows, and face.
-
Back applicator or a flexible mitt: For hard-to-reach areas like your back.
These tools give you control, prevent mess, and make blending a breeze.
Step 3: Apply Section by Section
Break your body into zones and take your time.
-
Start with legs, then work up to arms, stomach, chest, and back.
-
Use long, sweeping motions, not circles, to apply the product evenly.
-
Less is more on tricky areas like elbows, knees, ankles, and wrists. Lightly blend leftover product from your mitt instead of applying more.
Pro tip: Buff with a dry mitt or brush around tricky spots for a seamless blend.
Step 4: Don’t Forget Hands & Feet
These areas tan differently and can easily go too dark.
-
Use the tiniest bit of product left on your mitt or brush.
-
Apply gently and blend into wrists and ankles for a natural transition.
-
Wipe fingernails, toenails, and cuticles with a damp cloth to avoid staining.
Step 5: Let It Dry & Develop
Let your tan set the right way for the best results:
-
Air-dry for 10–15 minutes before dressing.
-
Wear loose, dark clothing and avoid sweating or water while it develops (usually 6–8 hours, or overnight).
-
Follow your product’s instructions, development time can vary by formula.
Need a quick rinse? Try express tans that develop faster without compromising colour.
Step 6: Lock In the Glow
After your first rinse:
-
Pat skin dry, don’t rub.
-
Moisturise daily to keep your tan looking fresh and to prevent dry, flaky fading.
-
Avoid exfoliants, hot water, and chlorine to help your tan last longer.
Reapply or top up every few days depending on your formula, gradual tanners are great for this!
Final Word
Self-tanning doesn’t have to be scary, and when you’ve got the right tools, products, and a little know-how, it’s one of the easiest beauty routines to master.
With CHARLIE Code, your glow is just a few steps away, smooth, even, and never orange.
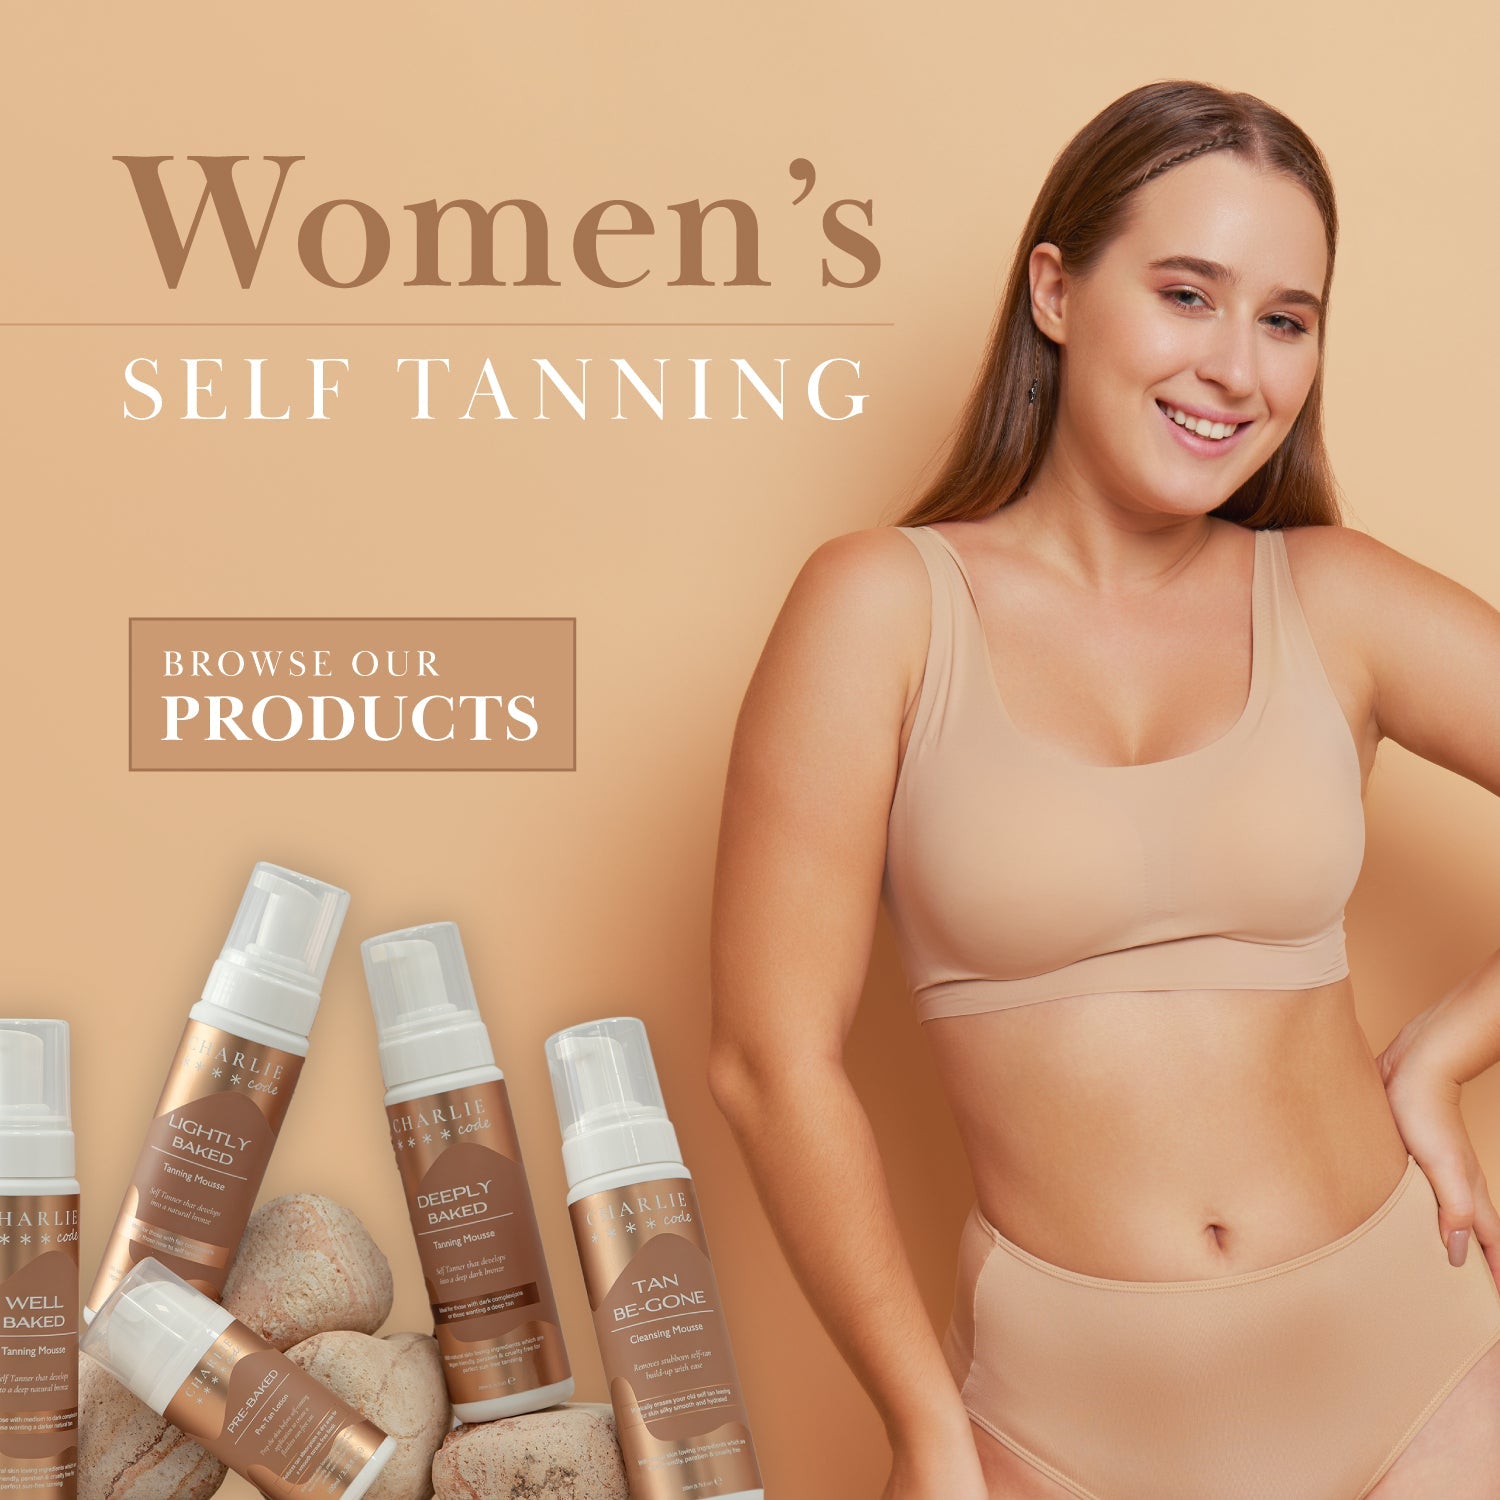
Glow-Ready Checklist: Pre-Baked – Tanning Prep Lotion
Lightly Baked – Natural Glow
Well Baked – Golden Bronze
Deeply Baked – Bold & Dark
Tan Be-Gone – Tan Remover
For more expert advice, check out:
5 Essential Tanning Tips
How to Choose Your Perfect Shade
